Pull Code — Avora CLI
Generate the selected Avora workspace and extract its code into a tracked local project folder.
Task
Pull a workspace by selection, name, or ID and choose whether the CLI should prepare and run it immediately.
Prerequisites
- You are signed in to Avora.
- The workspace is valid enough for code generation.
- The
unzipcommand is installed. - The target parent directory is writable.
Find This in Your Terminal
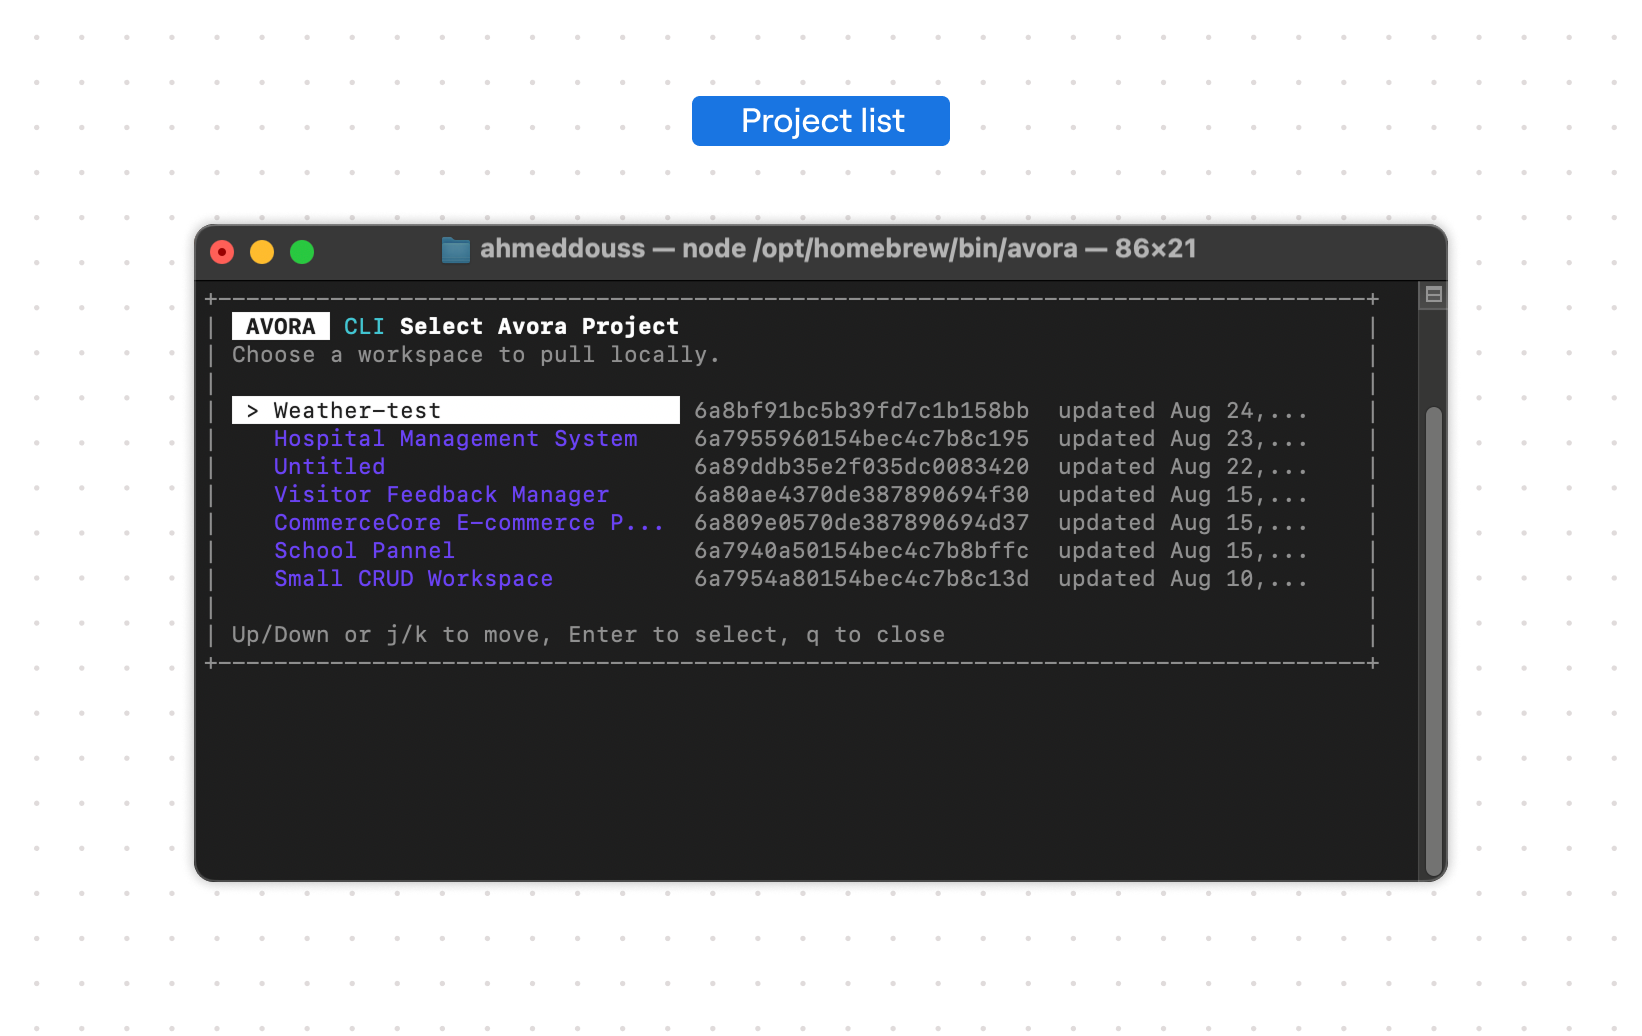
Choose from the account list:
avora pull --select
Or provide a name or ID:
avora pull my-workspace
Steps
- Run
avora projectswhen you need to confirm the workspace name. - Run
avora pull --select --no-runfor a guided first pull. - Choose the workspace. The CLI requests its graph and a generated project archive.
- The archive is extracted to
~/avora-projects/WORKSPACE_NAMEby default. - Use
--path <directory>to choose a different parent folder. - Remove
--no-runwhen you want dependency preparation and startup to happen after the pull.
Useful forms:
avora pull workspace-id --no-run
avora pull workspace-name --path ./generated --no-run
avora pull --select --update --yes
--update accepts replacement of an existing pull. --yes also accepts prompts and, when selection is required, chooses the newest workspace automatically.
Expected Result
The generated files are extracted under the selected parent directory, and the workspace ID, name, local path, API URL, pull time, and optional run command are recorded in CLI state.
Next Step
Use Run Project or Verify Project.
Troubleshooting
- If no project is selected, rerun with
--selectin an interactive terminal or provide an exact name or ID. - If generation fails, fix validation problems in the Avora workspace and pull again.
- If extraction fails, install
unzipand confirm write access to the destination.