Learn the Avora Workspace and Visual Canvas
Learn the Avora interface, canvas elements, and workspace model before building your first visual backend.
Platform Structure
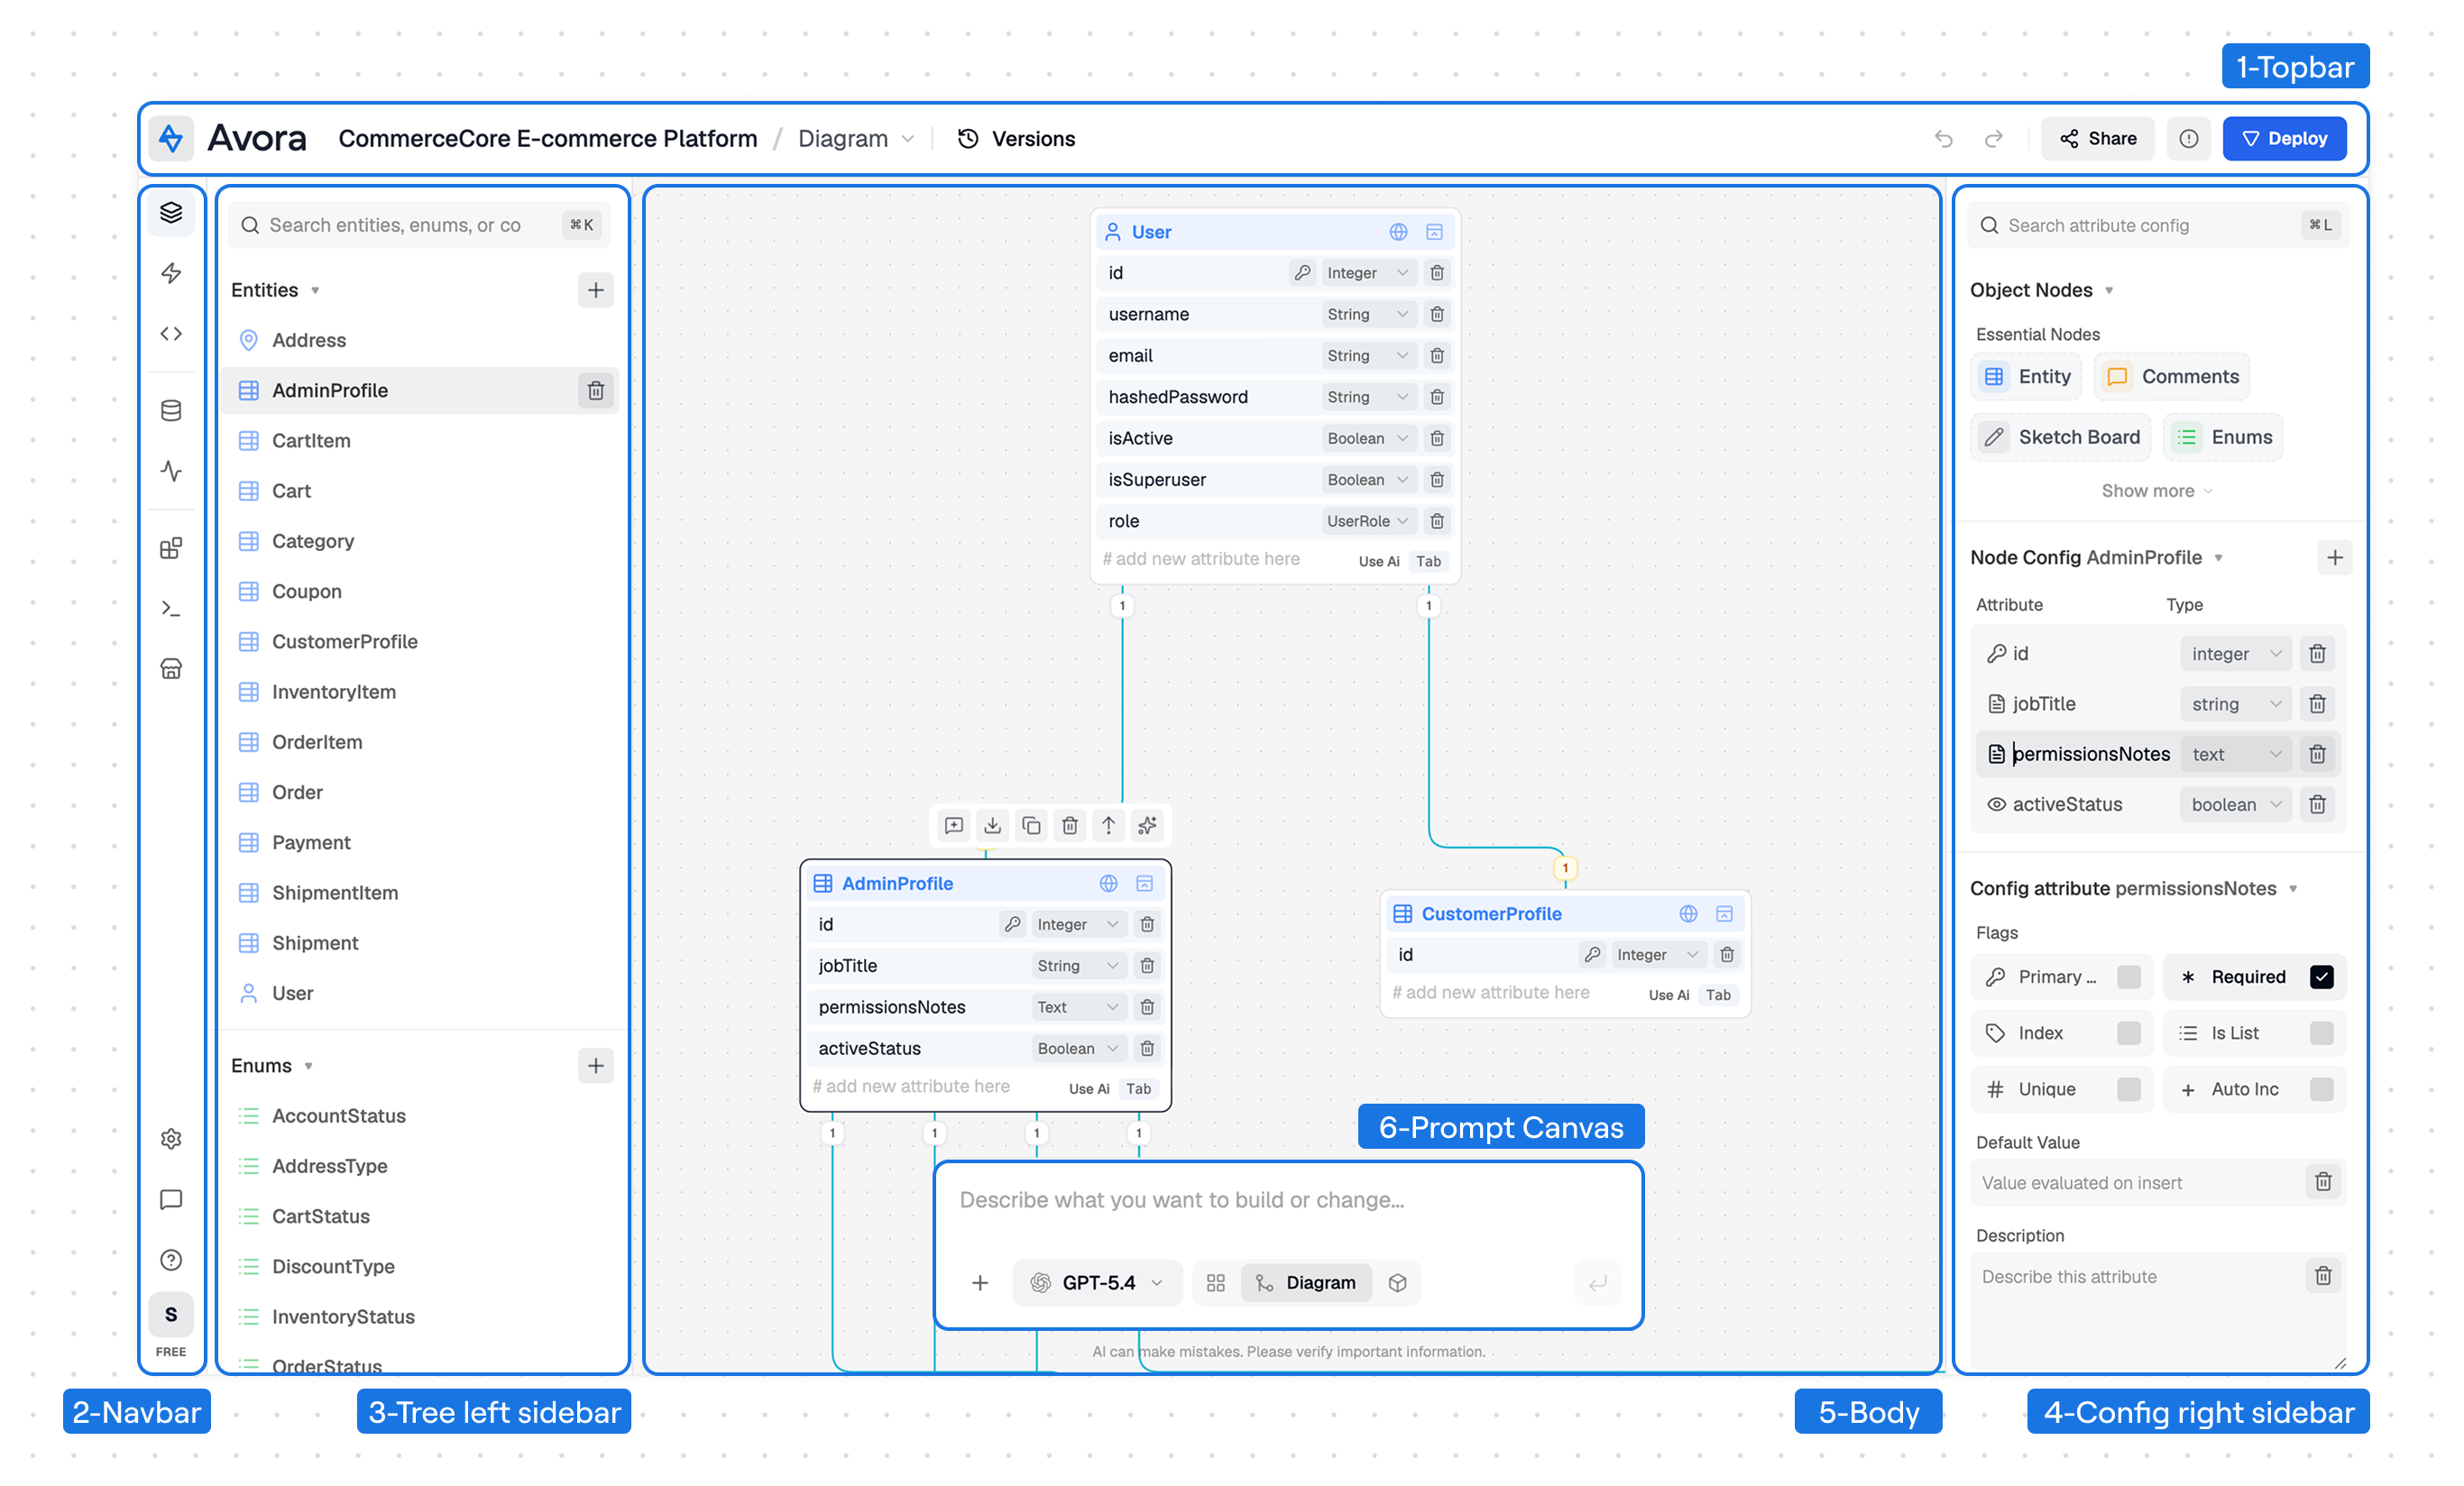
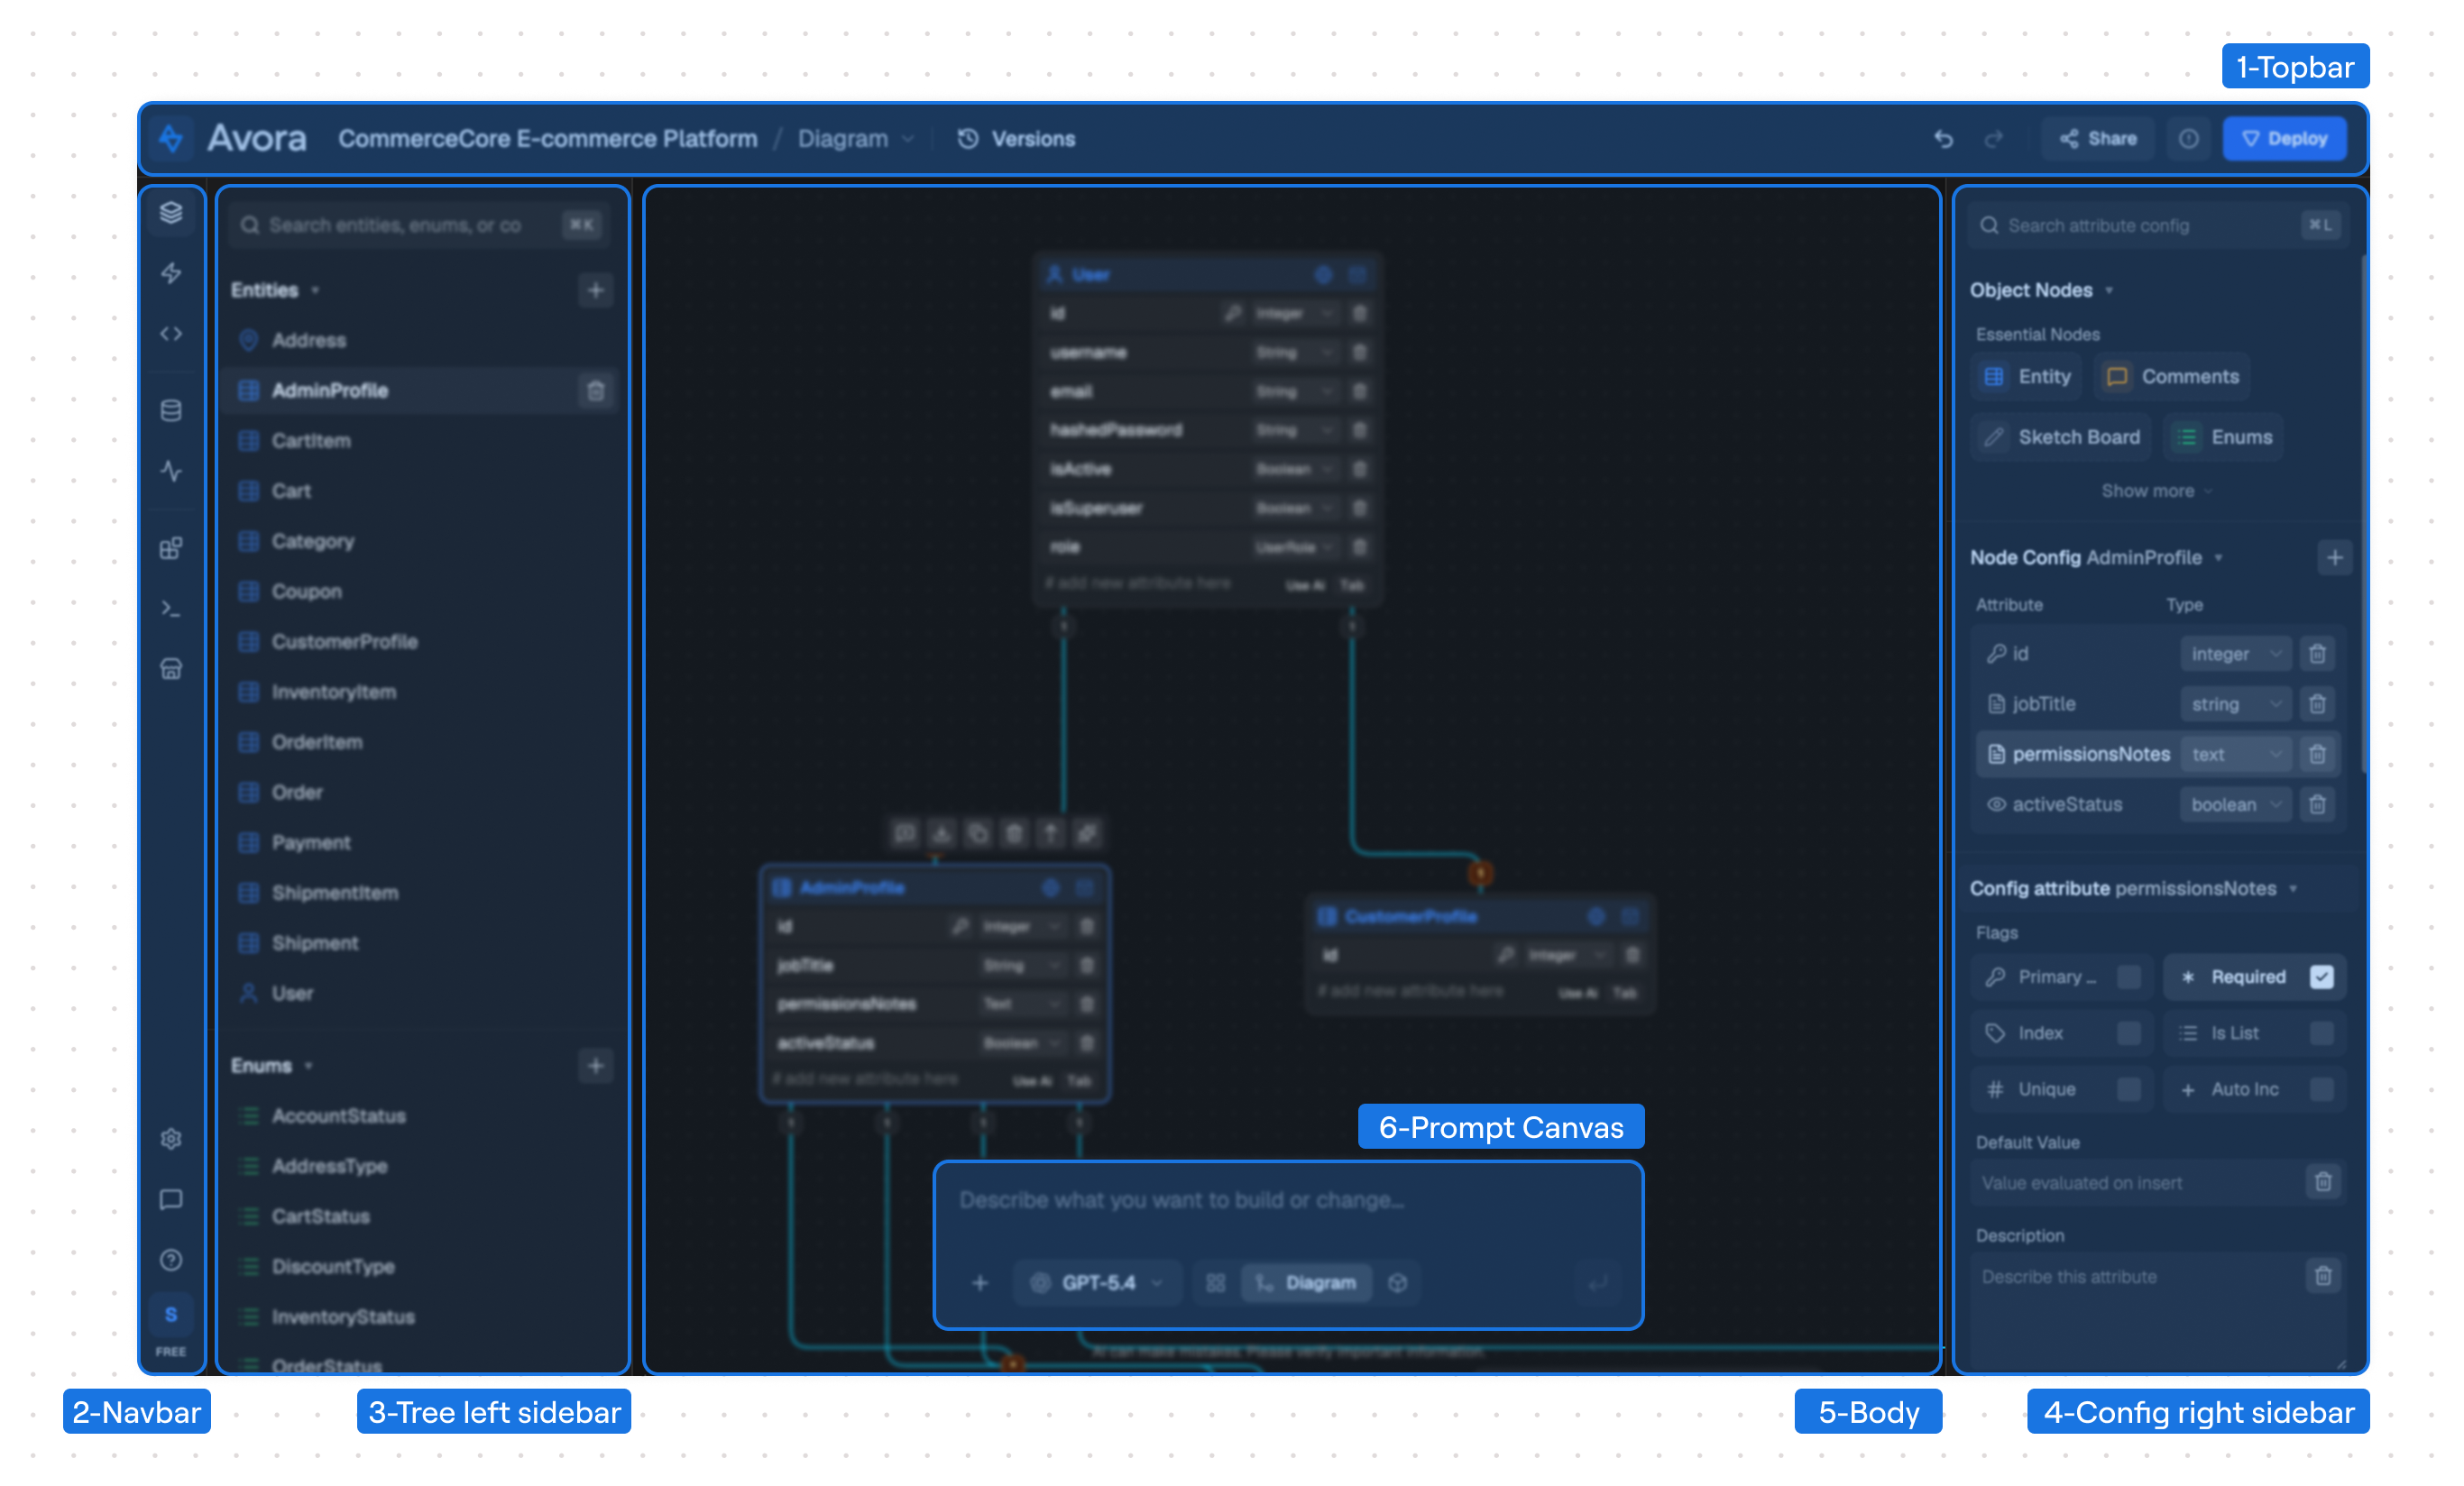
Avora starts from the dashboard, where you create or reopen drafts and workspaces. After a workspace opens, the main interface is organized into the six numbered areas shown below.
1. Topbar
The topbar is the horizontal header at the top of the workspace. It shows the Avora logo, workspace name, active view, version access, undo and redo controls, sharing, and deployment actions.
2. Navbar
The navbar is the narrow vertical menu on the far left. It lets you switch between the main Avora areas, including diagram work, request logic, code, database, marketplace, settings, support, and account controls.
3. Tree Left Sidebar
The tree left sidebar lists the objects for the active view. In the diagram view shown in the image, it groups entities and enums, includes search, and provides quick actions for adding or selecting backend structure.
4. Config Right Sidebar
The config right sidebar edits the selected object. In the image, it shows available object nodes and the configuration panel for an entity attribute, including type, flags, default value, and description.
5. Body
The body is the main workspace canvas. It contains the visual backend structure, including entity nodes, relationships, request groups, and canvas controls. Selecting an item in the body opens its settings in the config right sidebar.
6. Prompt Canvas
The prompt canvas is the AI input area inside the workspace body. Use it to describe a change for the current view, such as updating the diagram, modifying selected nodes, or generating a focused part of the backend.
Canvas Elements
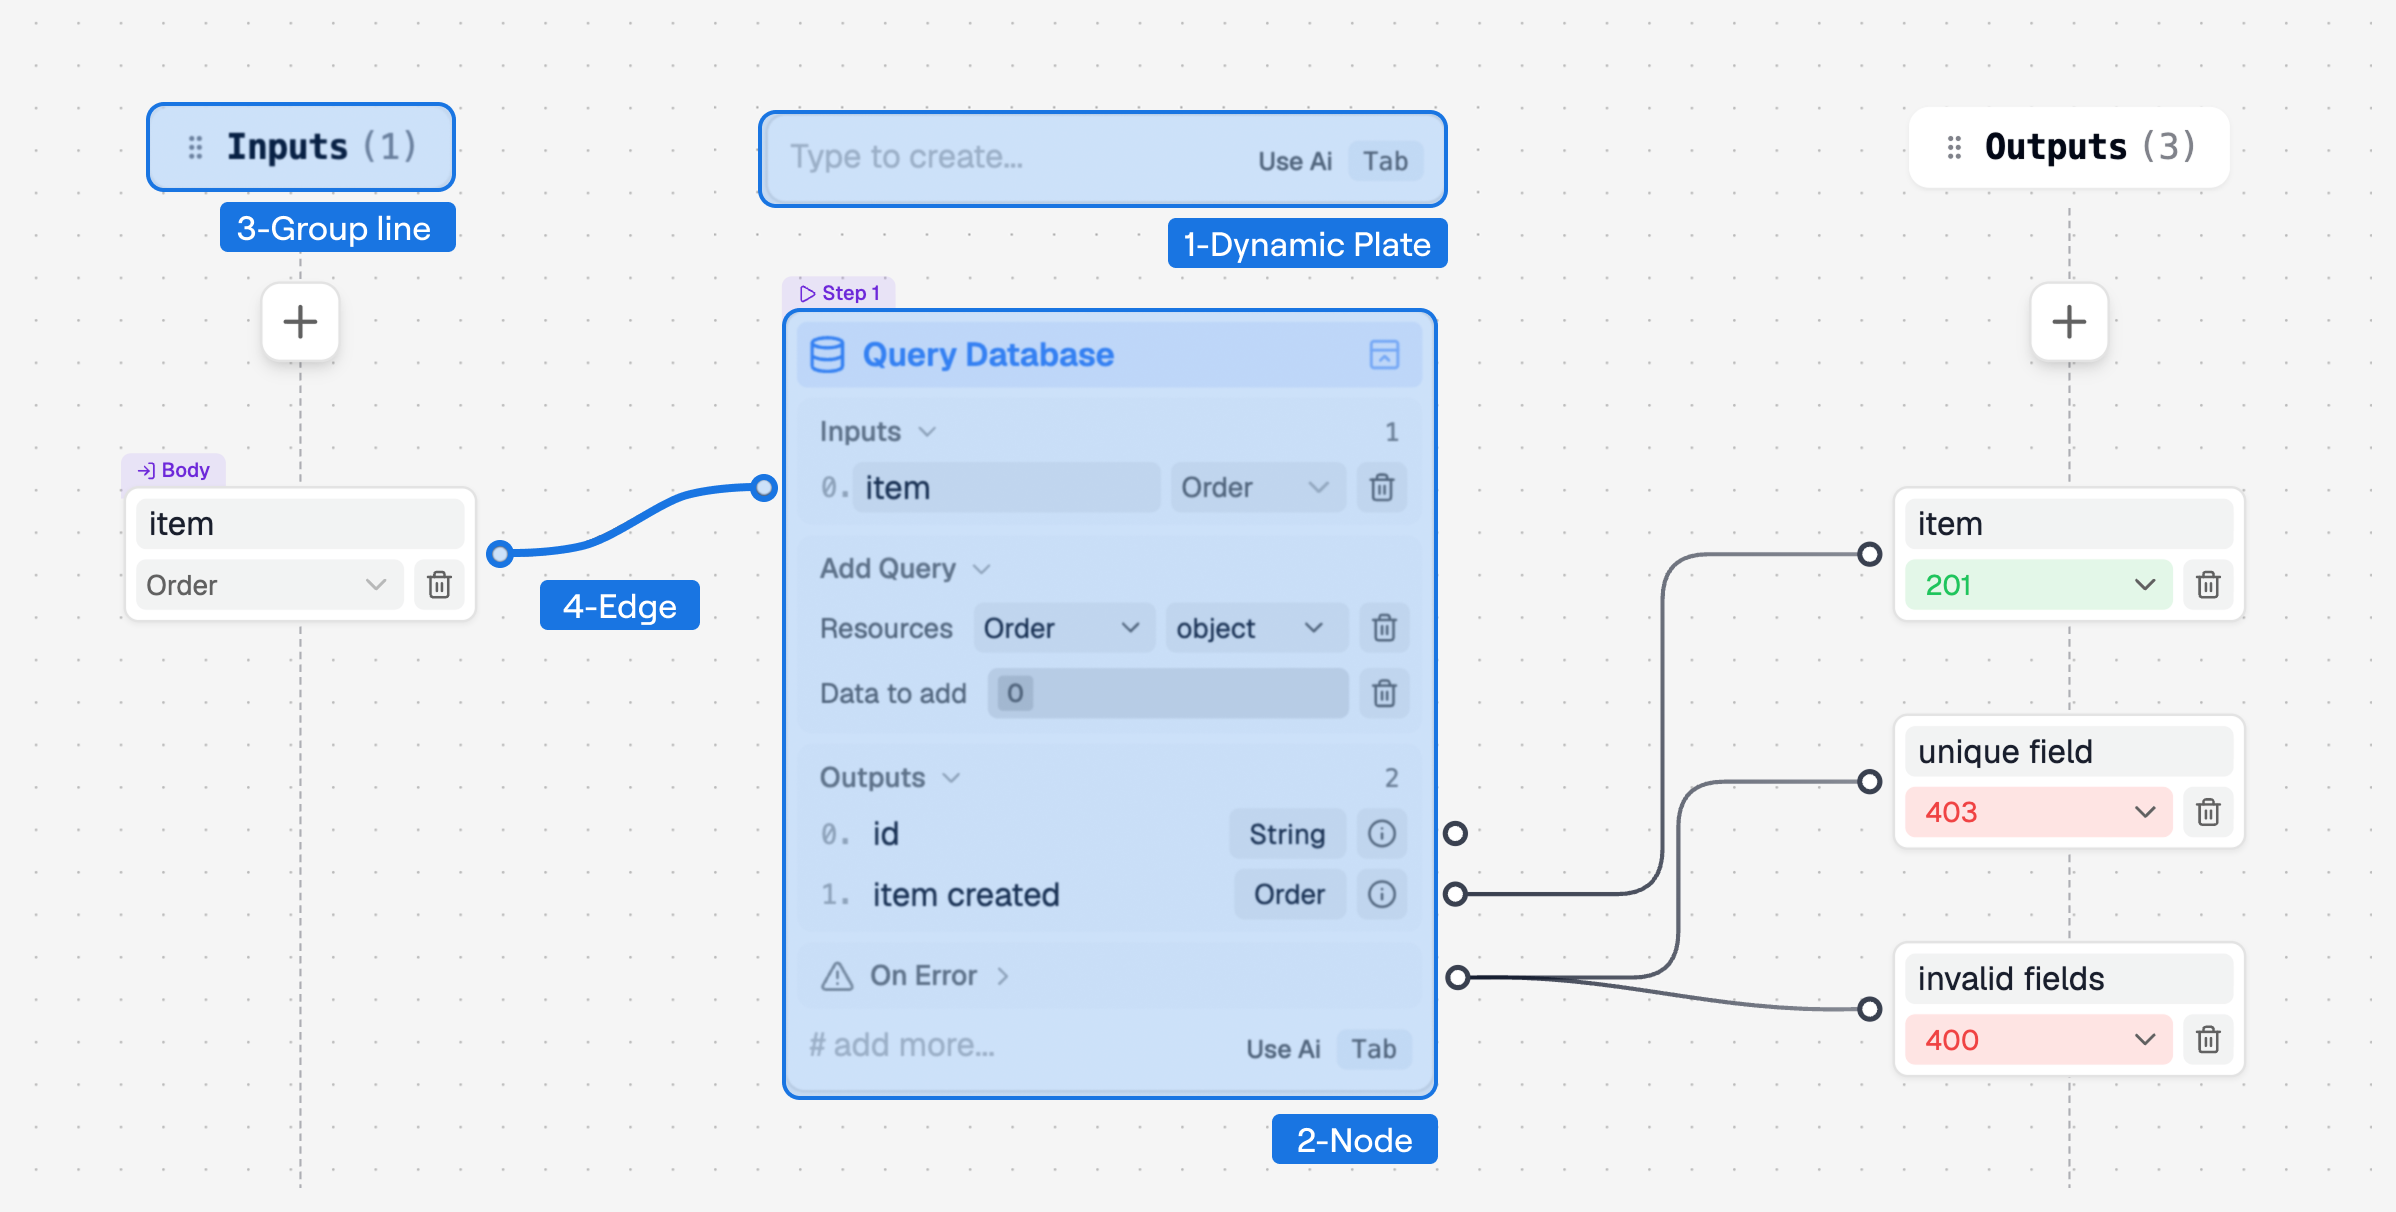
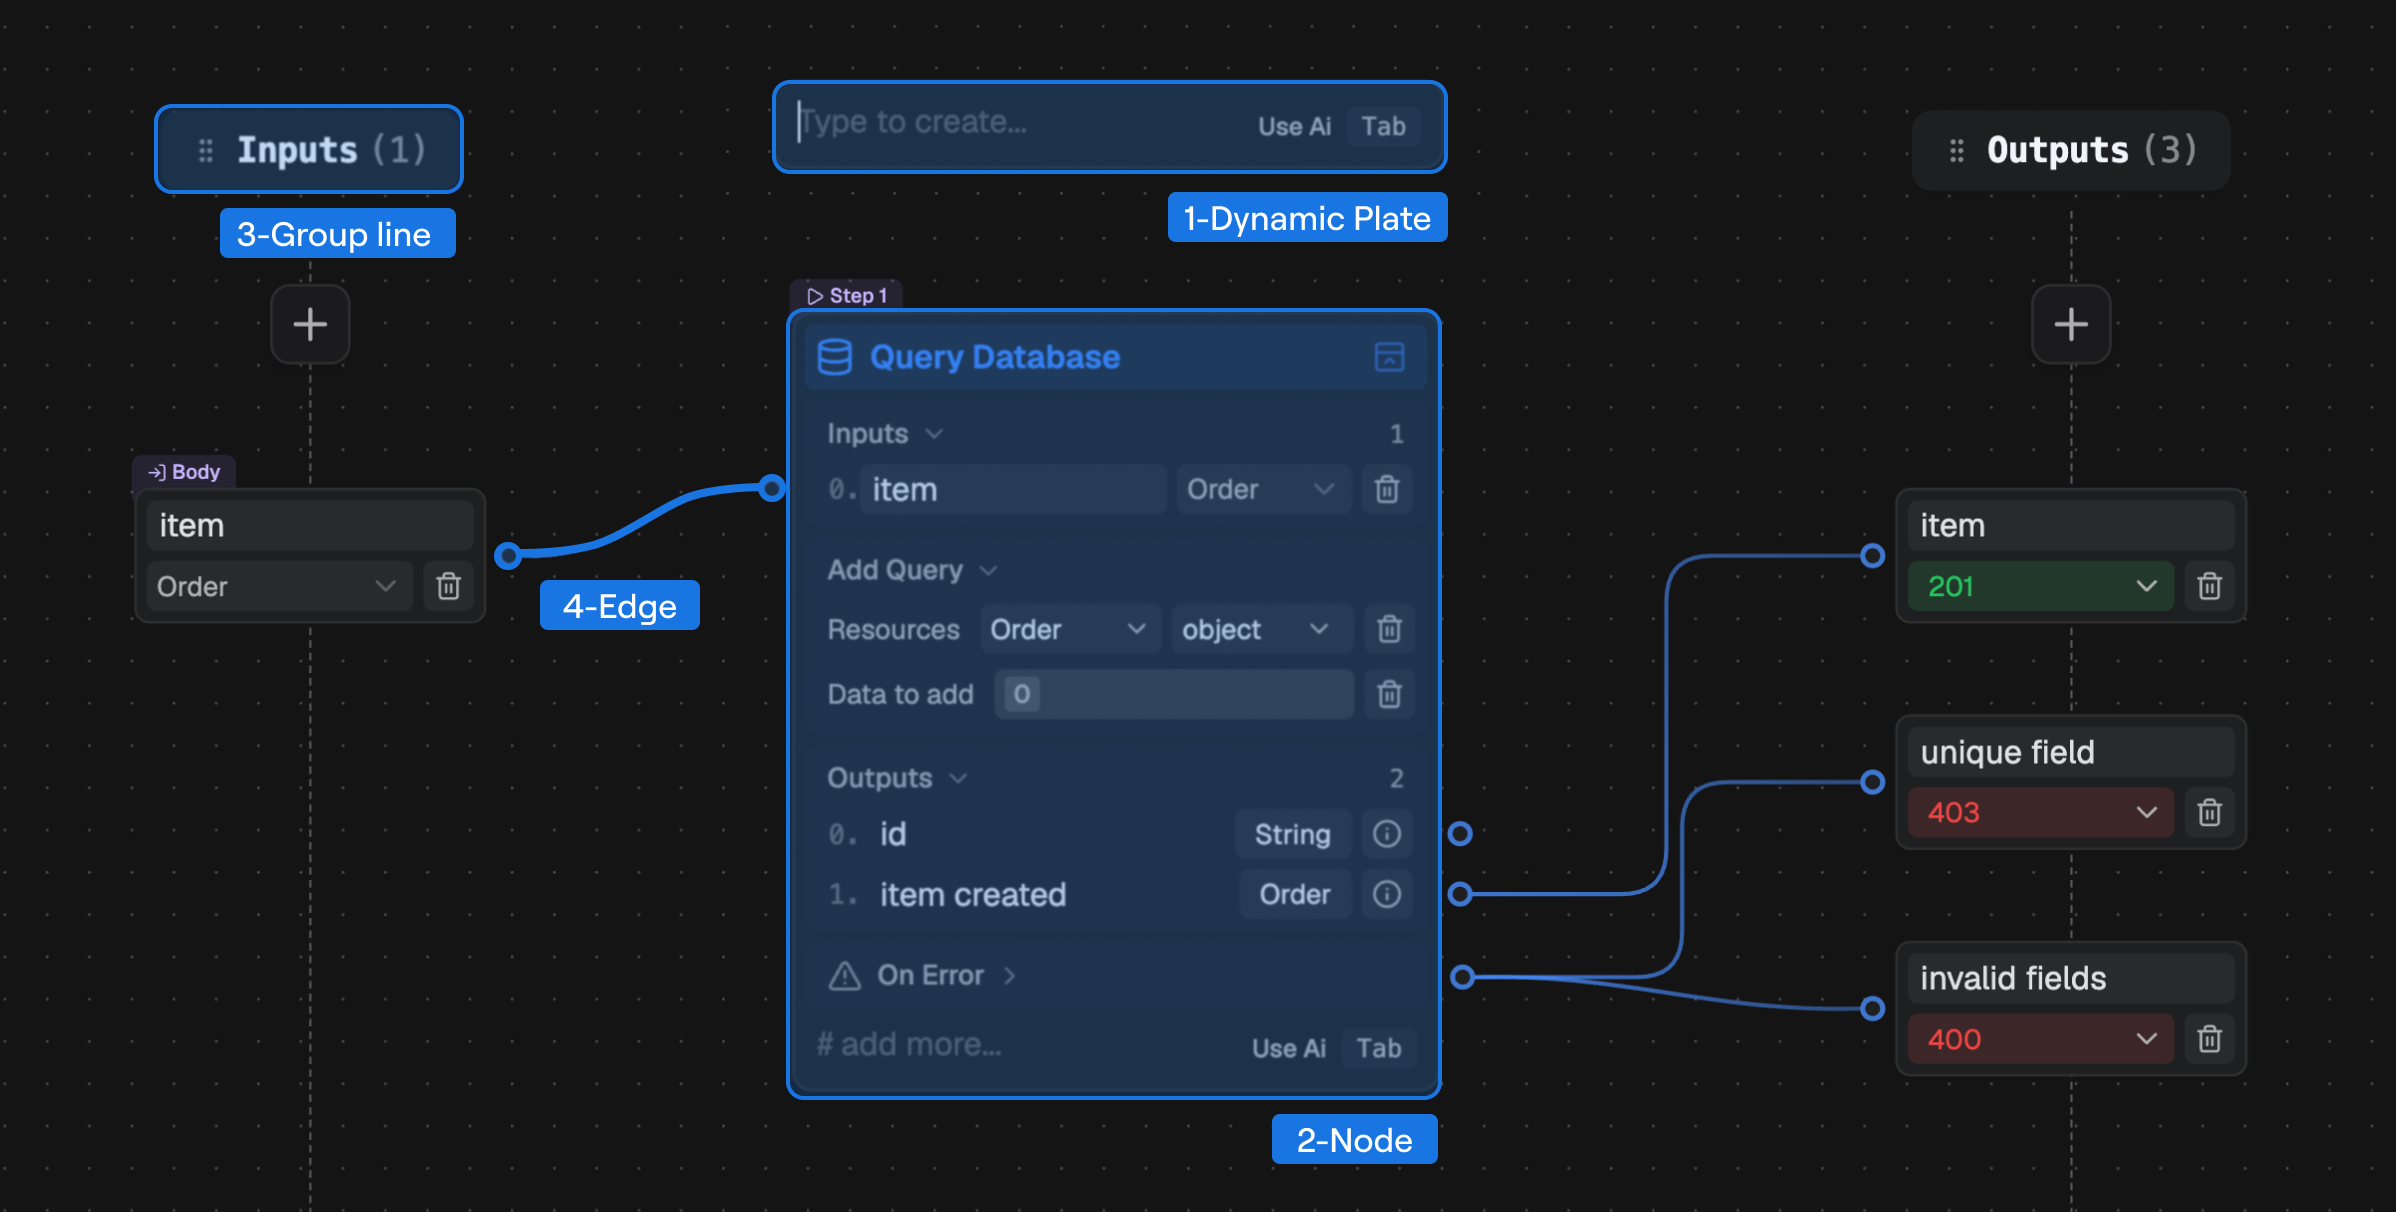
Canvas elements are the visual building blocks used to create and connect backend logic in Avora. The example below shows the four elements you will use most often in a logic flow.
1. Dynamic Plate
A dynamic plate is a contextual input for adding an element to the canvas. Type what you want to create, select a suggestion, or use Use AI to generate the element from a short instruction. The available results depend on where the plate appears and the current workspace view.
2. Node
A node represents one configurable part of the backend. In a logic flow, an action node performs a task such as querying a database, transforming data, or running custom logic. Its body contains the inputs, configuration, outputs, and error behavior for that action.
3. Group Line
A group line organizes related items under a named section such as Inputs or Outputs. The count beside the title shows how many items belong to the group, and the add control inserts another item without disrupting the rest of the flow.
4. Edge
An edge connects compatible ports on canvas elements. In the example, edges send the request body into the database node and route the node outputs to response items. Each edge represents the path followed by data or execution through the logic flow.
Workspaces
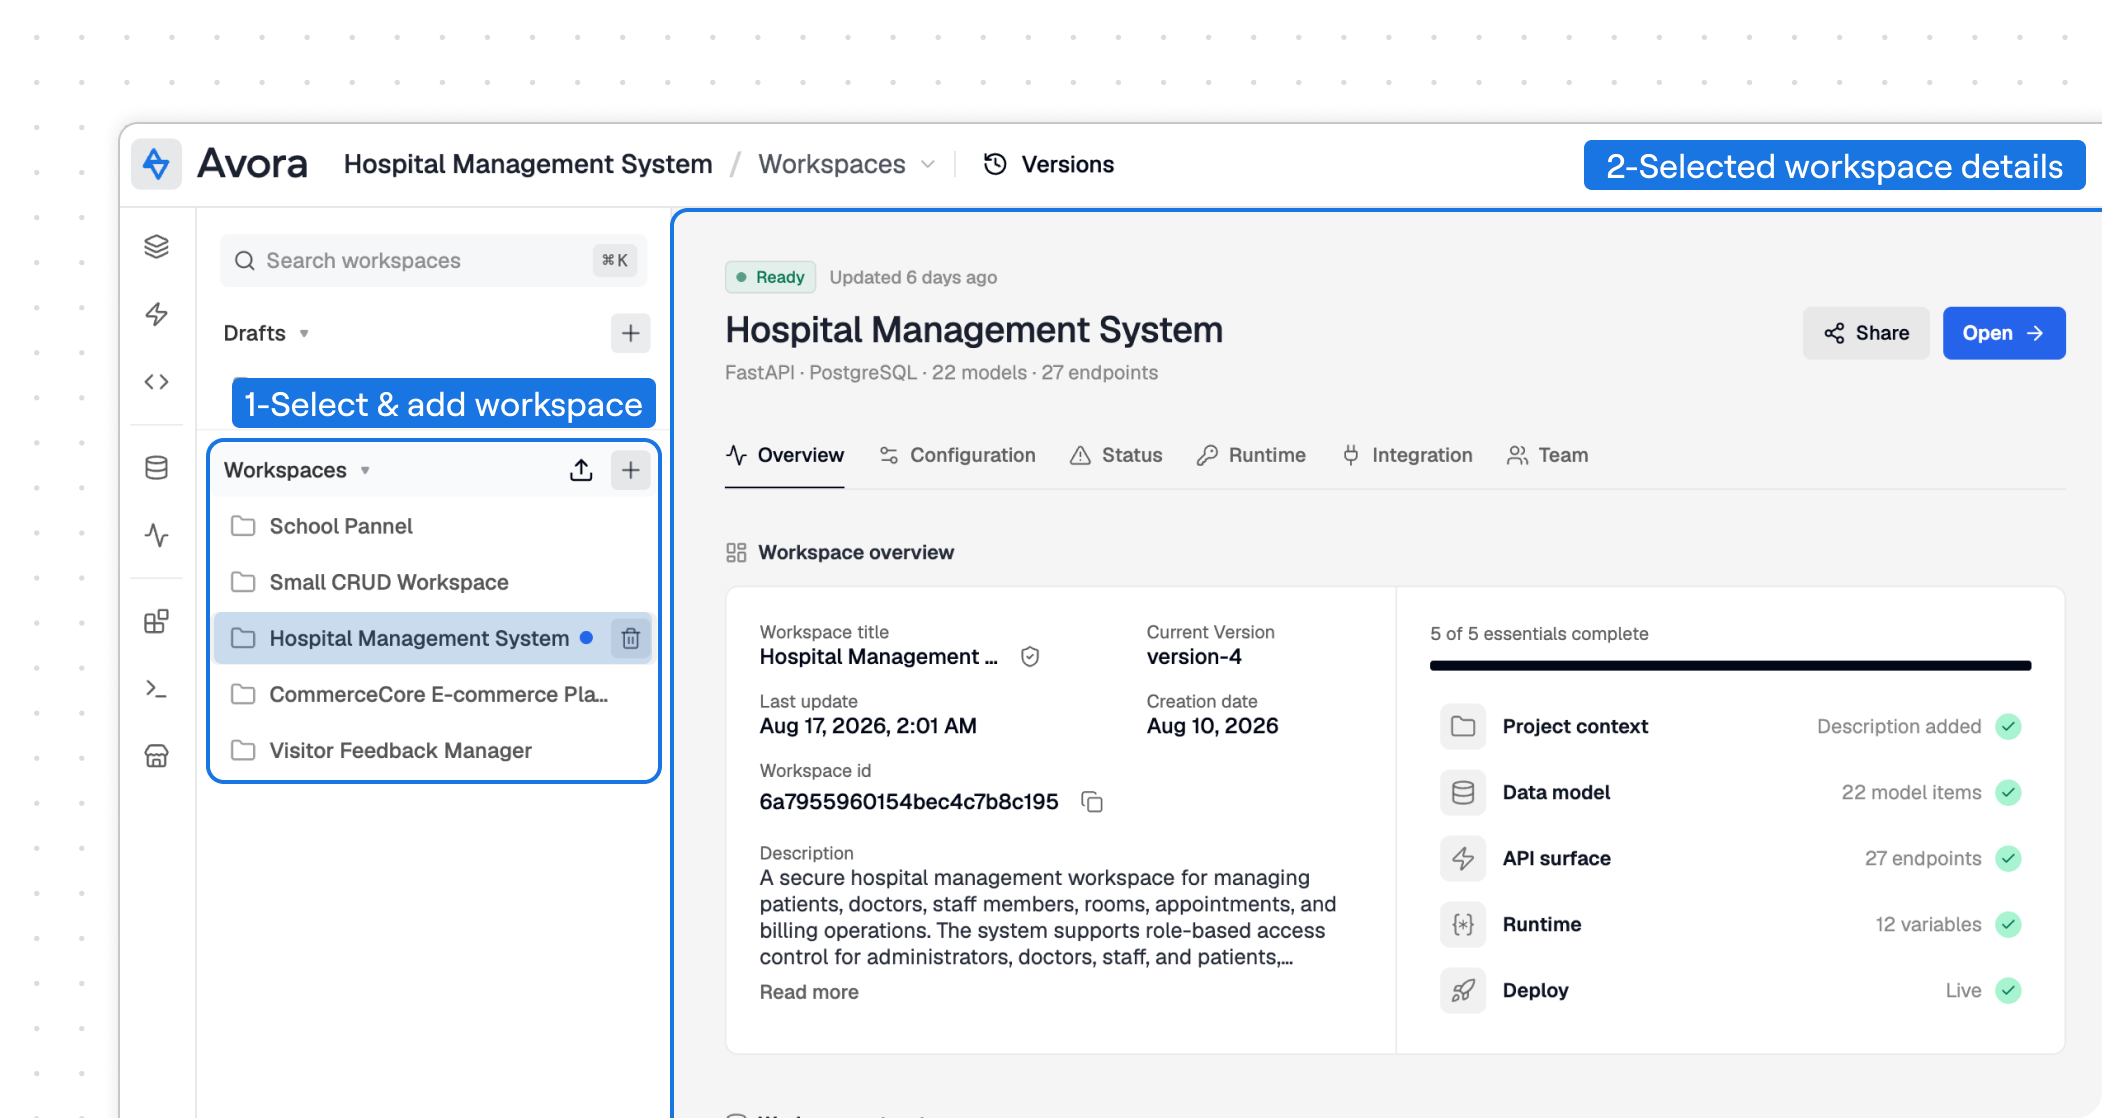
A workspace is the complete visual definition of one backend project. It keeps the project context, data model, API surface, runtime settings, team access, integrations, saved versions, and exportable structure in one place.
Workspace Contents
Use workspace details to understand what the selected backend contains and which parts still need configuration before generation, export, or deployment.
| Workspace detail | What it controls |
|---|---|
| Project context | Workspace name, description, goal, and the backend scope the team is building. |
| Authentication | User model, signup/login requests, protected endpoints, roles, and permission rules. |
| Framework | The generated backend framework, such as FastAPI or NestJS, and its project structure. |
| Database | The data model, relationships, selected database engine, and connection requirements. |
| API surface | Requests, routes, inputs, outputs, status behavior, and request-level authentication. |
| Runtime | Environment variables, service configuration, secrets, and execution requirements. |
| Integrations | External services connected to the backend, such as APIs, tools, storage, or deployment providers. |
| Team | Workspace members, collaboration access, and shared editing context. |
| Versions | Saved snapshots that let you return to an earlier workspace state. |
| Export and share | Portable workspace files, share links, and collaboration/export options. |
Workspace Review
Use the Workspaces list to create a new backend project or reopen an existing one. Select a workspace from the list to load the backend project it contains, including its overview, details, settings, environment variables, team members, integrations, data model, API surface, runtime configuration, and deployment state.
After selecting a workspace, review its setup in order:
- Open Overview to confirm the workspace name, description, current version, creation date, last update, and workspace ID.
- Check the essentials list to make sure project context, data model, API surface, runtime, and deployment are complete.
- Open Configuration to adjust workspace settings before generating or deploying.
- Open Status to review validation and readiness signals.
- Open Runtime to check variables and runtime requirements.
- Open Integration to connect external services used by the backend.
- Open Team to manage collaborators who can work on the workspace.
Versioning
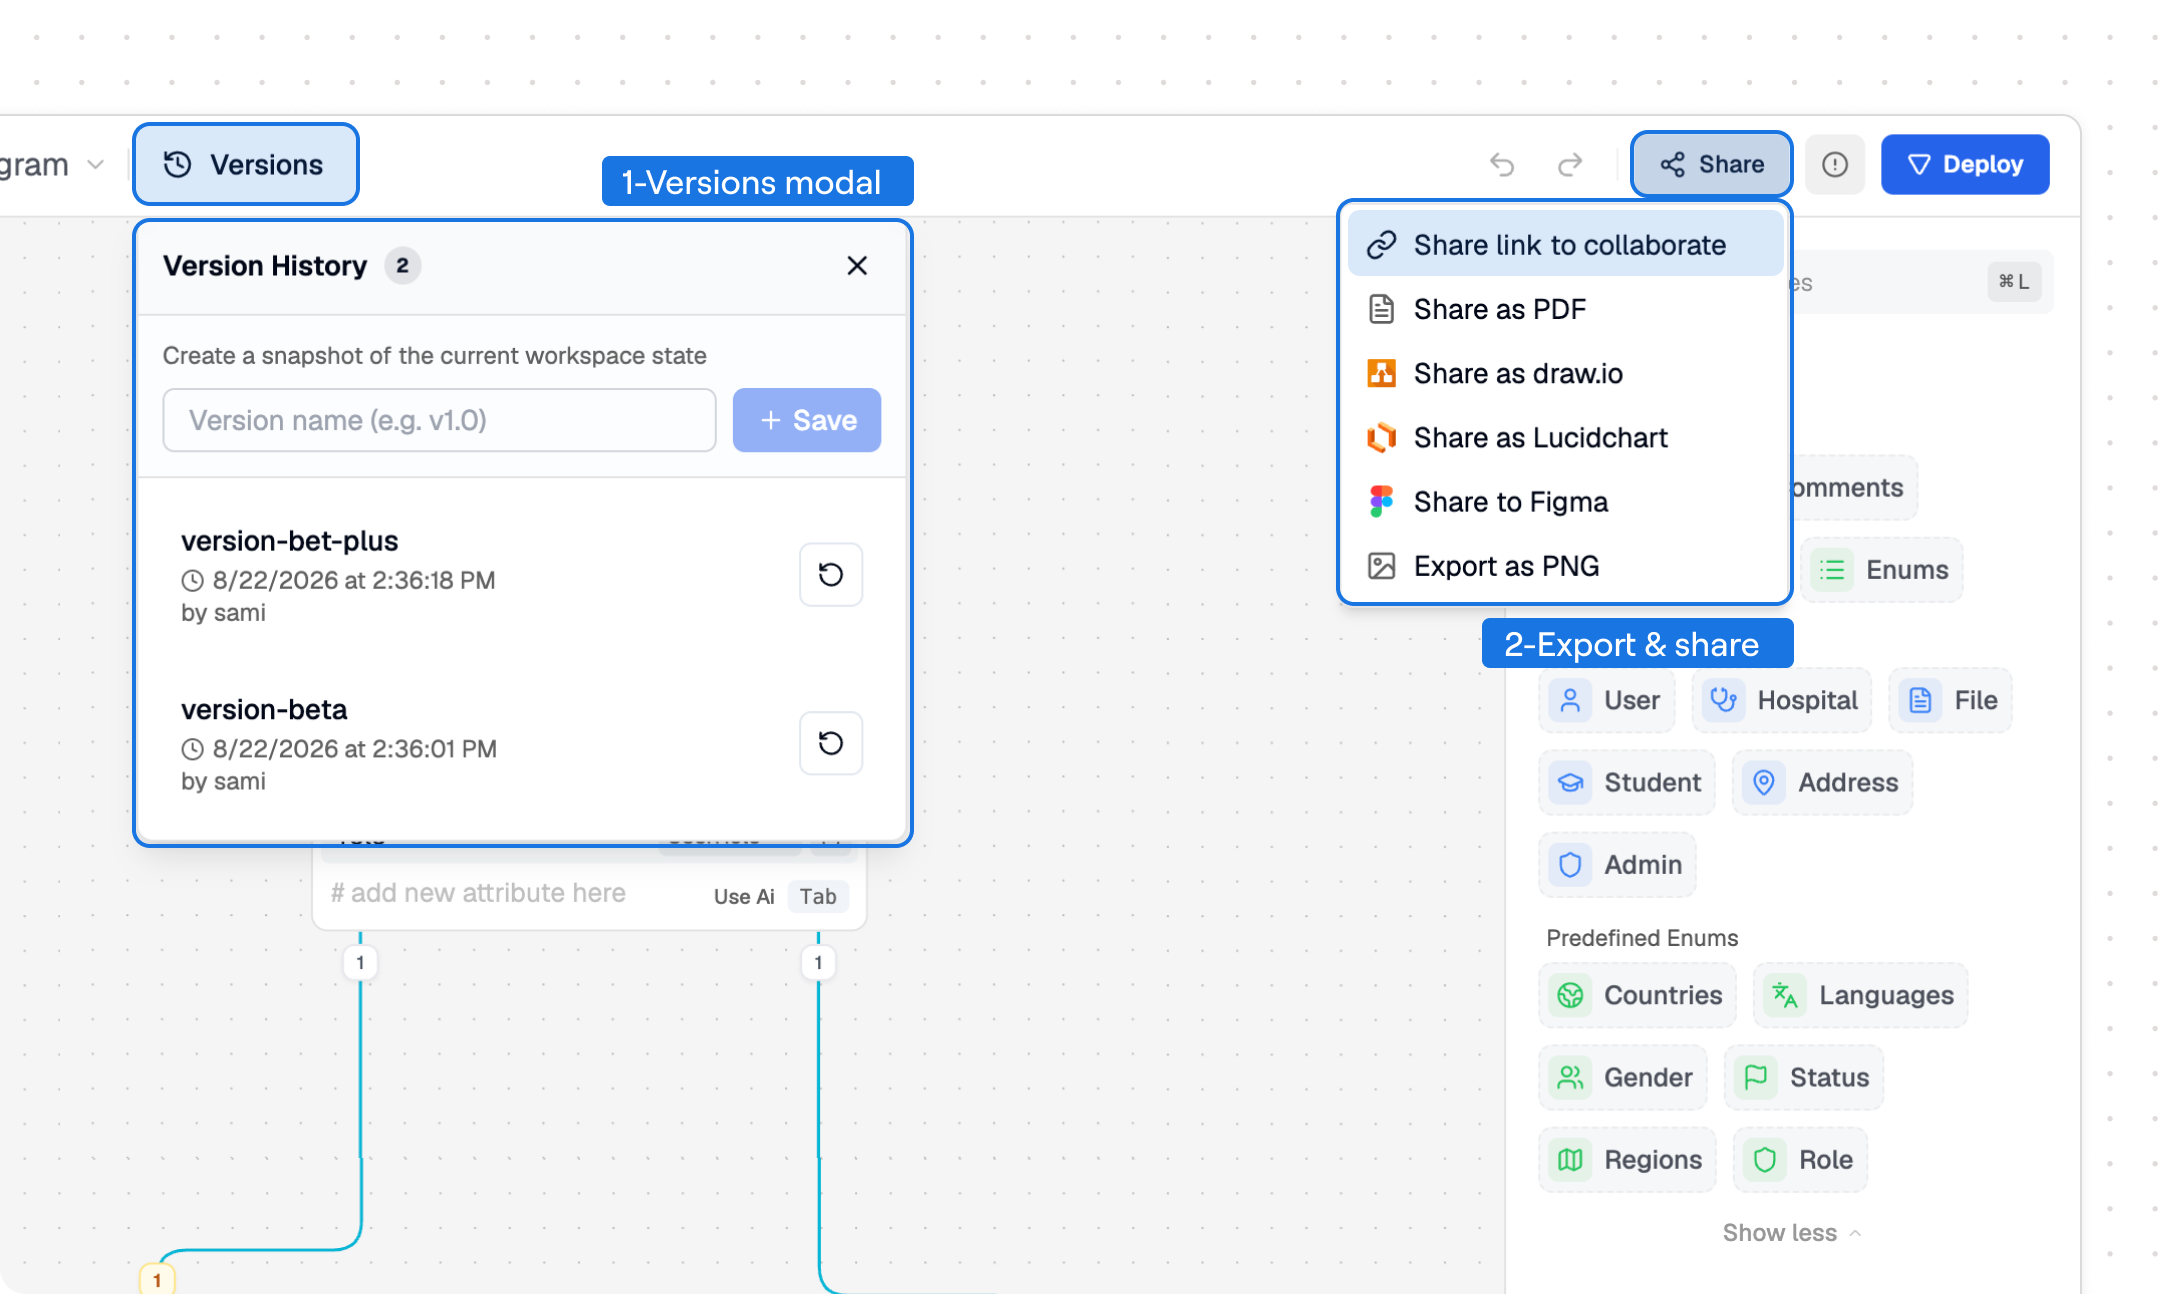
A version is a named snapshot of the current workspace graph and settings. Save a version before a large AI update, relationship redesign, request-flow change, export, or deployment. Restoring a version replaces the current workspace state with the saved snapshot, so confirm that you no longer need unsaved changes first.
Exporting
Export a workspace when you need a portable copy of its structure. The export is useful for backup, migration, sharing a reproducible project state, or importing the same backend design into another Avora account. Review validation results before exporting so the file represents a clean workspace state.
Sharing and Collaboration
Use Share to copy the workspace link and invite collaborators. Team members can work in the shared workspace, review the same selected workspace details, and continue from the current version. Use comments and team settings to keep implementation decisions visible near the relevant workspace area.
You are now ready to follow Quick Start.